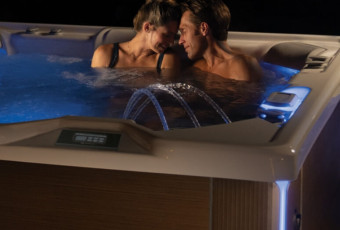
Finding a scratch or crack in or on your spa pool is like finding the same on a brand new car. While the damage might be superficial, it hurts to see such a big and beautiful investment damaged.
Cracks and scratches are very important to address. If left untreated cracks can grow, turning superficial damage into something more; eventually water might seep into your spa pool’s internal machinery and cause far bigger problems. But there’s good news: fixing minor cosmetic damage to the acrylic shell often isn’t that difficult; you’ll just need some basic, cheap and easy-to-find supplies, and maybe a spare hour or two.
How do you repair spa pool cracks and scratches to extend the life of your spa? Read on to find out!
Diagnose your problem
The first step is to assess the damage. Are you dealing with a light surface scratch, or a deeper gash or crack that exposes the fibreglass or ABS-backing material beneath? Might this damage be covered under warranty? Note that warranty doesn’t cover general wear and tear, and that if you attempt to repair the shell on your own and fail the warranty will no longer be valid.
Once you assess the issue, decide if it’s something you feel comfortable repairing. If a gash or crack is large, or if there’s damage to the fibreglass or ABS-backing material, it’s wise to consider contacting your local dealer for assistance. Experienced and licensed spa pool technicians should be available to help you handle any repair.

Find supplies, drain your spa
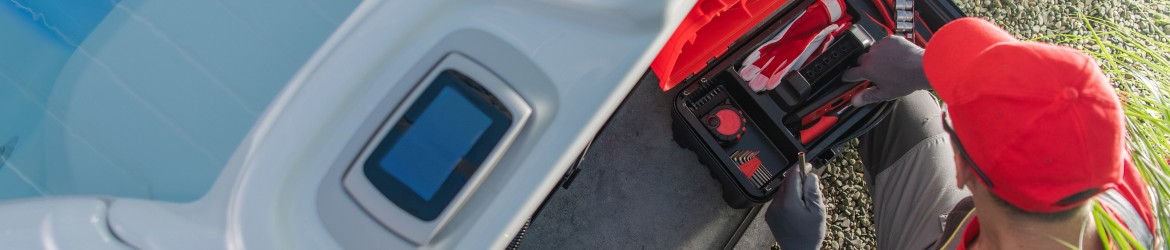
If you’re comfortable going the DIY route, you’ll next need to source materials. You don’t want to get halfway through your repair only to realise you don’t have everything you need, so find the following items:
- Acrylic repair kit: Your local dealer will likely have a kit specifically designed for spa pool repair. If you’re unable to find a spa-specific kit, an acrylic repair kit designed for vehicles might suffice.
- A drill and grinding bit: If the crack is large enough, you may need to use a drill with a grinding bit to grind and smooth the edges of the crack.
- Spa pool cleaner: Purchase spa pool cleaner from your local dealer. Alternatively an acrylic cleaning product from a hardware store can do the job.
- A soft towel: The softer the towel, the less abrasive it will be to the surface of your spa pool shell. Microfibre towels are perfect.
- Sandpaper: For the greatest degree of control over the result, have a range of sandpaper grains on hand.
The supplies above should be all you need to repair scratches and cracks in the acrylic shell. If the damage extends to the fibreglass or ABS-backing material beneath, you’ll need purpose-built fibreglass repair equipment, as well as protective glasses and gloves.
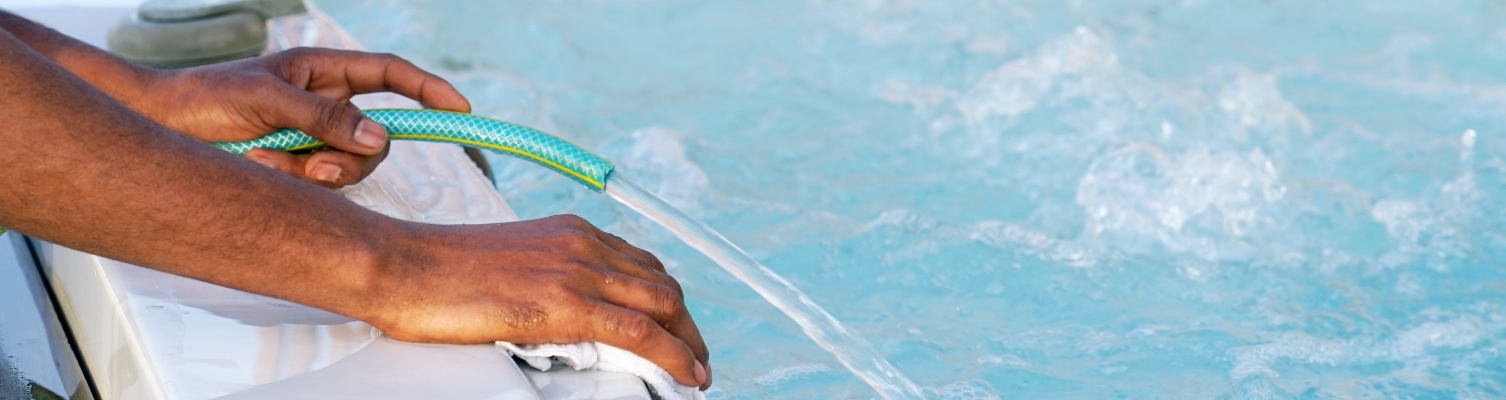
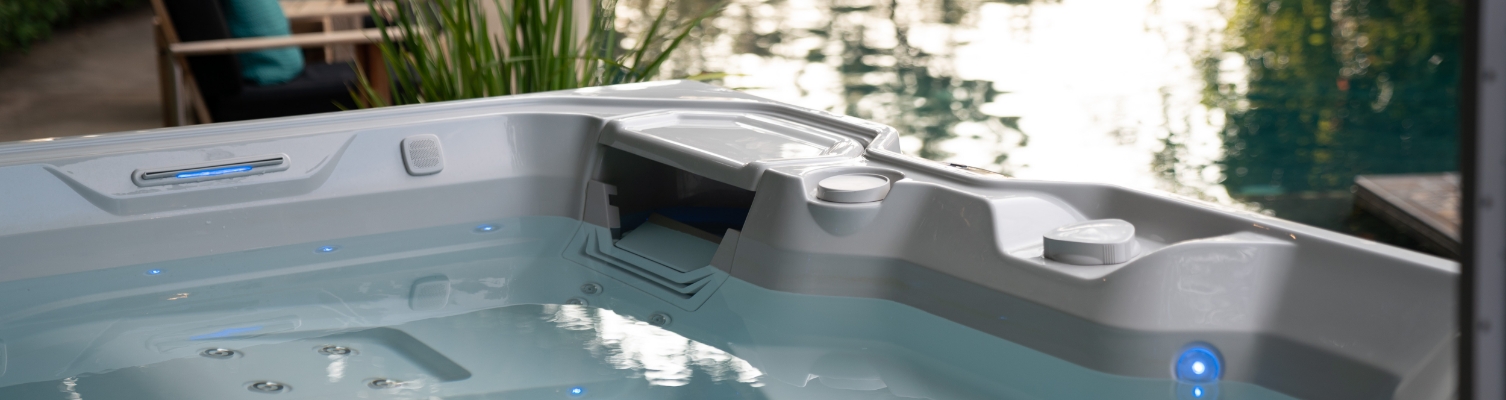
Once you’ve collected all the necessary suppliers, drain your spa pool and disconnect it from the power source. You won’t be repairing electrical components, but it’s better to be safe than sorry when it comes to water and electricity.
Perform your repair
With your tools and materials at the ready, and with your spa pool drained and unplugged, you’re ready to start your repair. How? Simply follow these steps:
- Dry the damaged area with a soft towel.
- Clean the area with your spa pool cleaner. If you’ve got time this is a perfect chance to clean the rest of your spa pool too – it will not only make for a more sanitary and pleasant repair experience, but a fresher soak afterwards.
- Apply the patch material from the repair kit according to the package instructions. You may not need the whole kit if you’re repairing a small scratch. For larger cracks, use the drill and bit to grind the edges into a ‘V’ shape – the bottom of the ‘V’ should be the base of the crack, with the sides sloping out to provide a seat for your plaster material. Fill the ‘V’ with patch material, applying just enough to fill the crack.
- Allow the patch material to dry according to the repair kit instructions.
- Sand the rough edges and bumps once the patch material is completely dry.
- Buff the area with the towel.
- Clean the area again to remove any remaining residue.
- Refill your spa pool with water, checking for leaks around the repaired area. If you find a leak you’ll need to drain your spa and start over.
- Enjoy your soak!
Repairing a scratch or crack in your spa’s shell is typically a quick and simple task – the most time-consuming part is draining and refilling the water of your portable spa pool. But once it’s repaired and refilled, your spa pool will look as good and perform as well as it did prior to the damage, and you can spend the rest of the day enjoying your hard work!